Editing Your First Model
This tutorial will show you how to make your first VR model. For the sake of this tutorial we will be editing the right hand model.
TIP
This tutorial makes use of the program Blender, make sure you have it before following this tutorial.
Viewing the model in Blender
First you need to import the model into Blender:


Your model is now imported but it misses a texture. To add a texture you will go to the Shading tab in blender. There you are going to add a texture element like this:

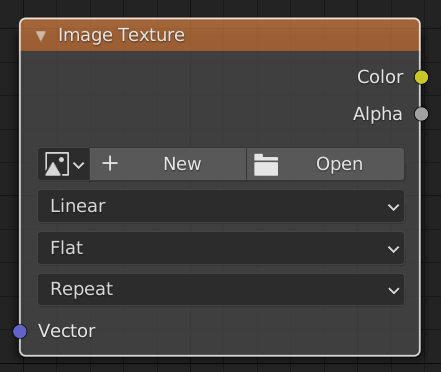
In that element you press open and select your texture in our case it is something\VRpackTemplate\textures\hologram_hands.png. Make sure you change linear to closest, otherwise your texture will look blurry. In the end it will look like this:
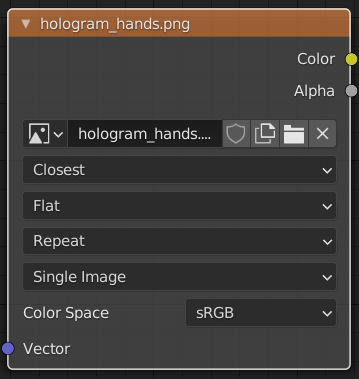
Now its time to add the texture to the models material. You hold the yellow dot and connect it to the other yellow dot like this:

If everything went good your model should now look like this:
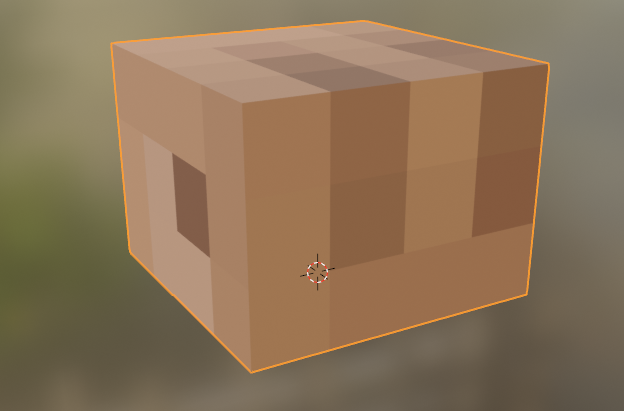
Editing the model
With editing the model you have almost total freedom, the only requirement is that the model only uses 1 texture.
Editing the model (easy)
Since this is the easy tutorial, we will show you how to make the hand into an arm.
First we need to figure out the dimensions of this object.
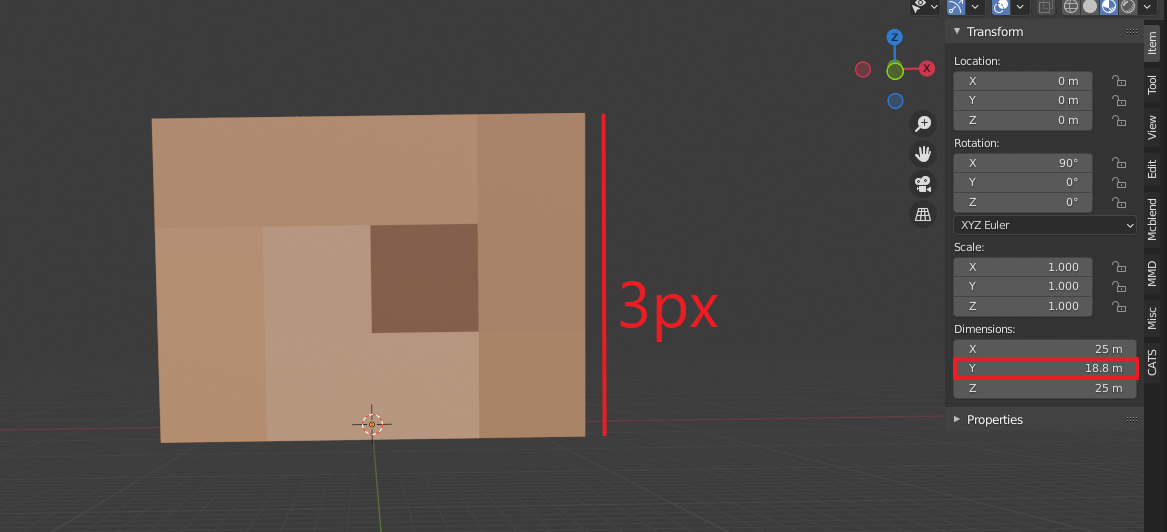
This image shows us that 3 pixels is equivalent to 18.75 meters in Blender, an arm is 12 pixels long so this means an arm is 4 * 18.75 = 75 meters in Blender. When editing the dimensions it will look like this:
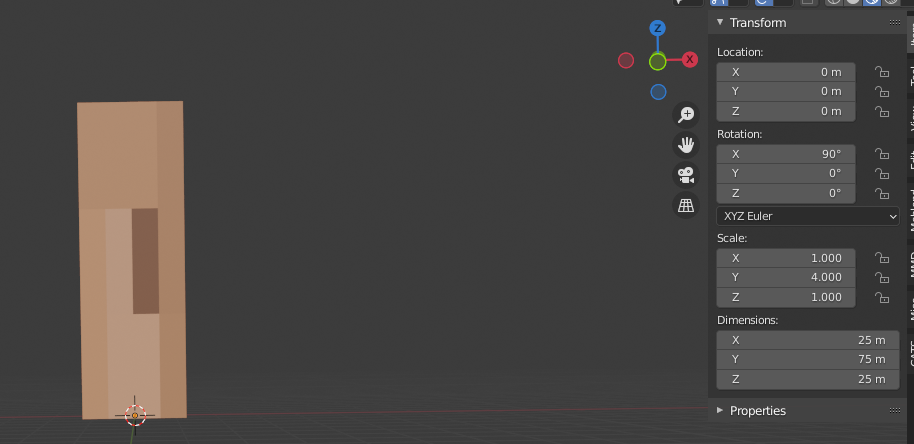
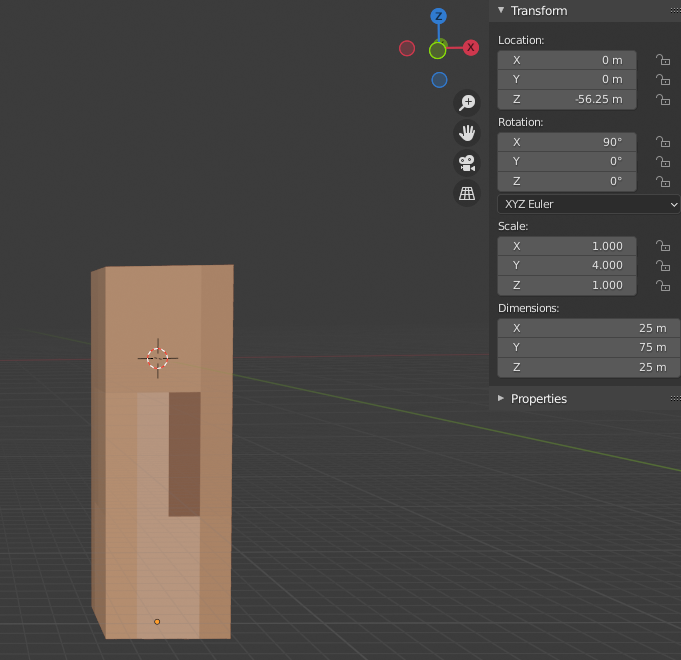
If we import it into minecraft the arm will be to far away. This is because the original model is made for a hand not an arm. So we need to move it 3 * 18.75 = 56.25 meters down.
Texturing
Since this is an arm we will use the steve arm model, you import it the same way like we did above.


Now you might notice your texture is stretched out. to fix this we will go to UV-editing and edit the uv map. UV-editing looks almost the same to blockbench.

TIP
Its handy to turn on this magnet looking icon so its more precise. ![]()
We start with selecting the top and the bottom of the hand.

Next we select the move tool.
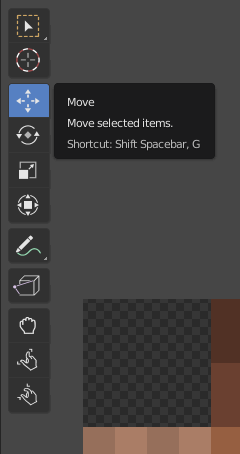
Now we move the top face and bottom face to the top of the texture.

The same for the sides of the arm.
Your new uv map should look something like this:

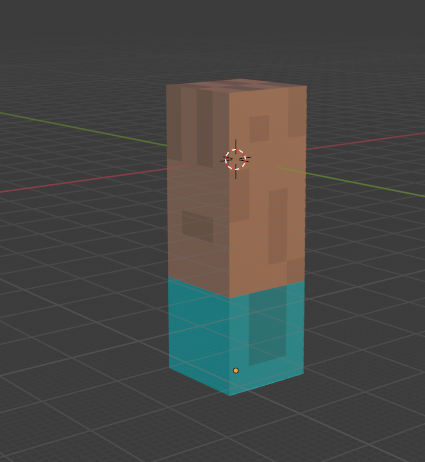
If we look how the arm look we see all is now fixed.
Export it!
It is time to now export your model first put the steve arm texture inside VRpackTemplateRP\textures. Call it hologram_hands.png.

Now lets export the model.

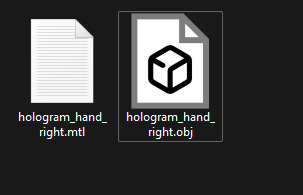
Call the model hologram_hand_right.obj.
Testing it in game
Load the pack into minecraft and try it out if it looks like this you succeeded in this tutorial!
